MCX Studio - a GUI for Monte Carlo eXtreme
MCX Studio is a cross-platform GUI for MCX, MMC and MCXCL. It gives users a straightforward interface to set various parameters for an MCX/MMC/MCXCL session, and organize different "simulation sessions" into "projects" that can be saved for later use.
Screenshots of MCX Studio
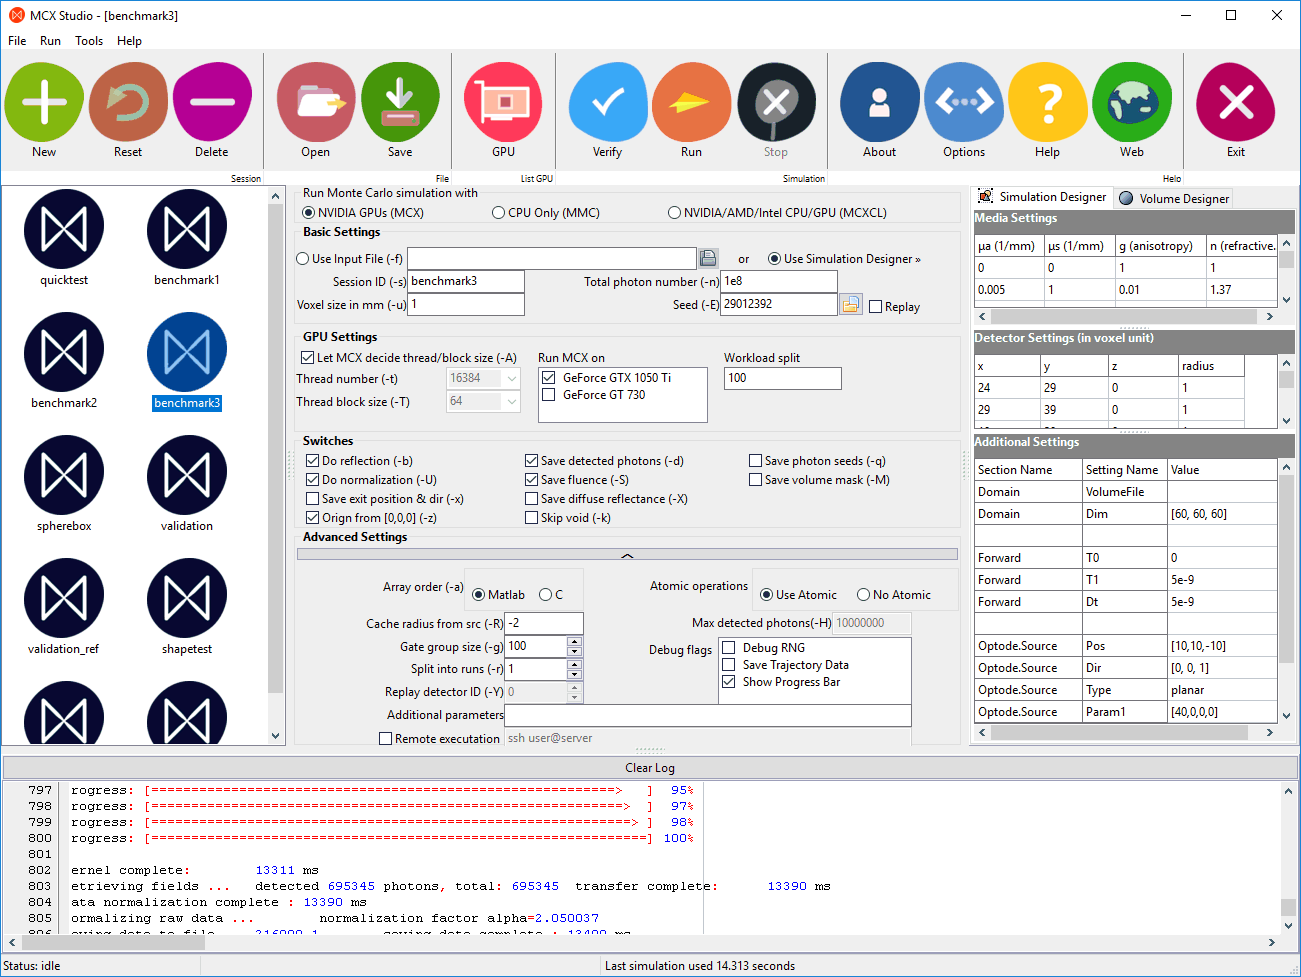
Updated MCX Studio 0.9 (on Windows)
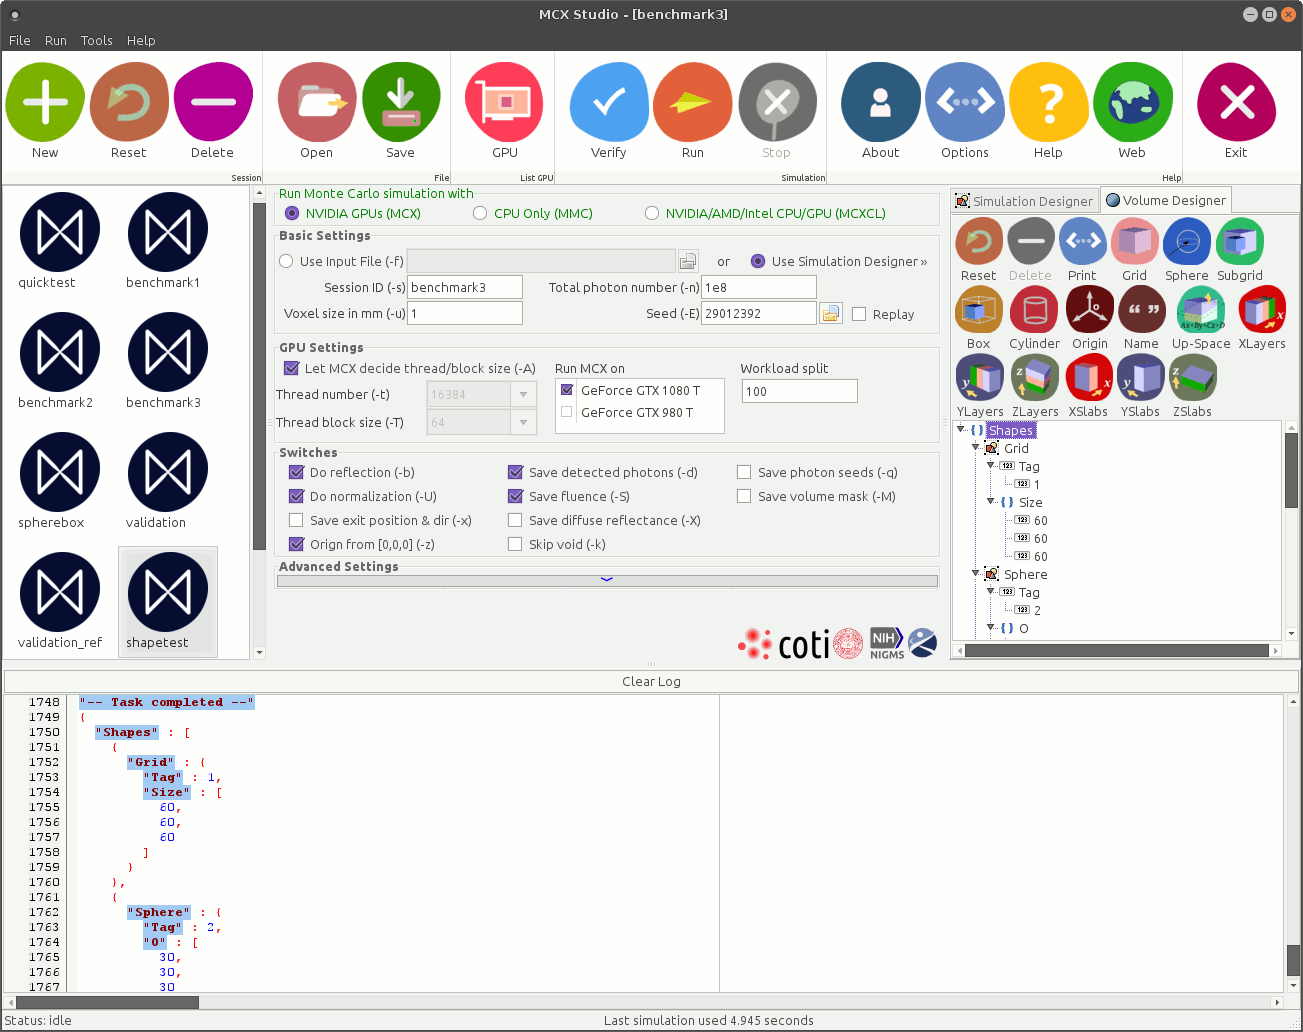
Volume Designer (on Linux)
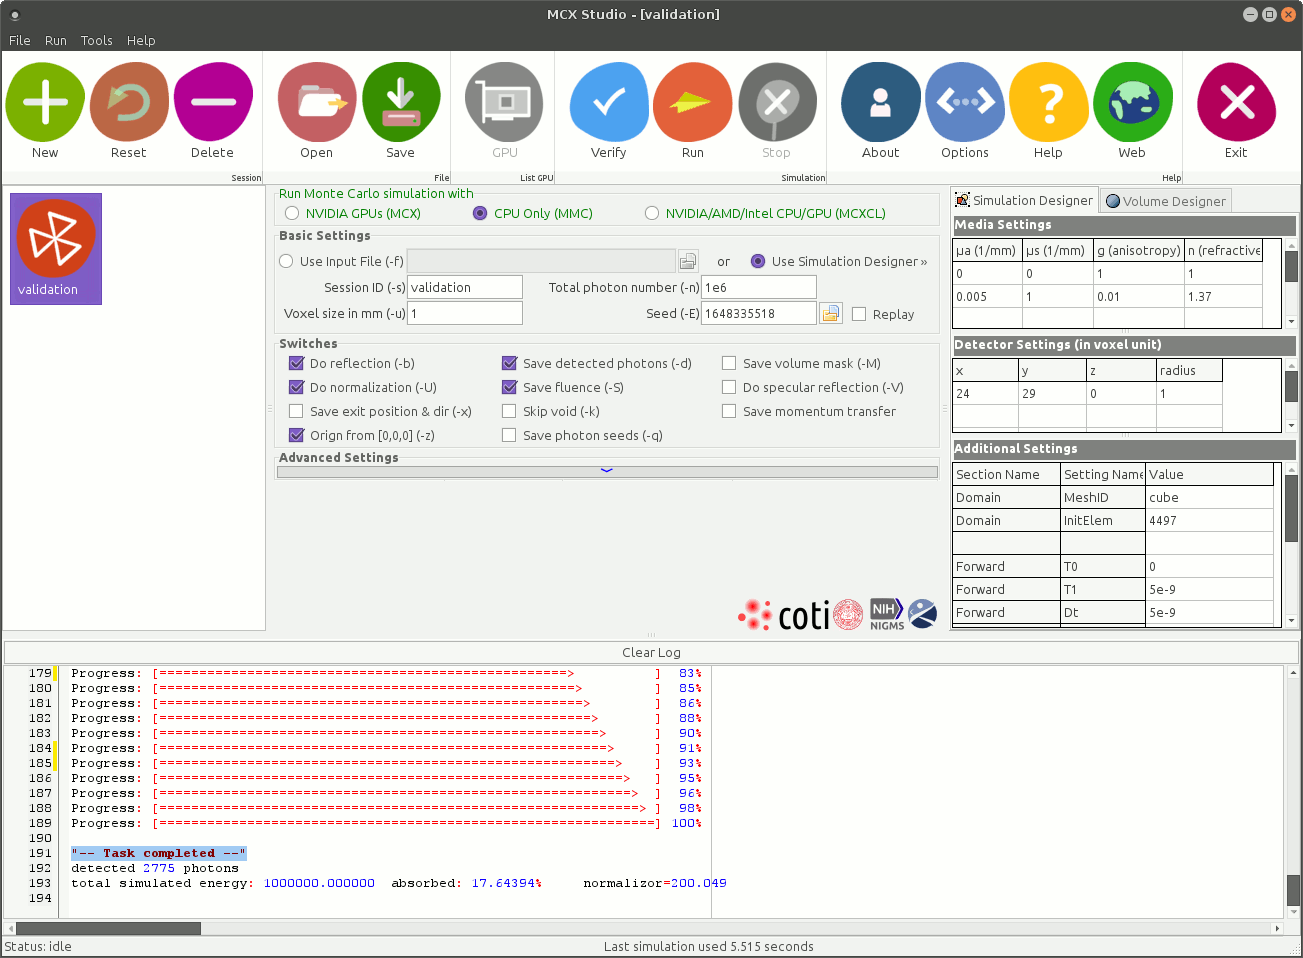
Running MMC simulations using MCX Studio
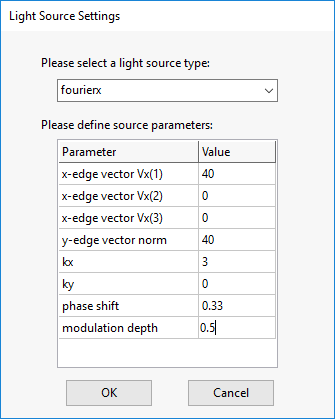
Light source designer (on Windows)
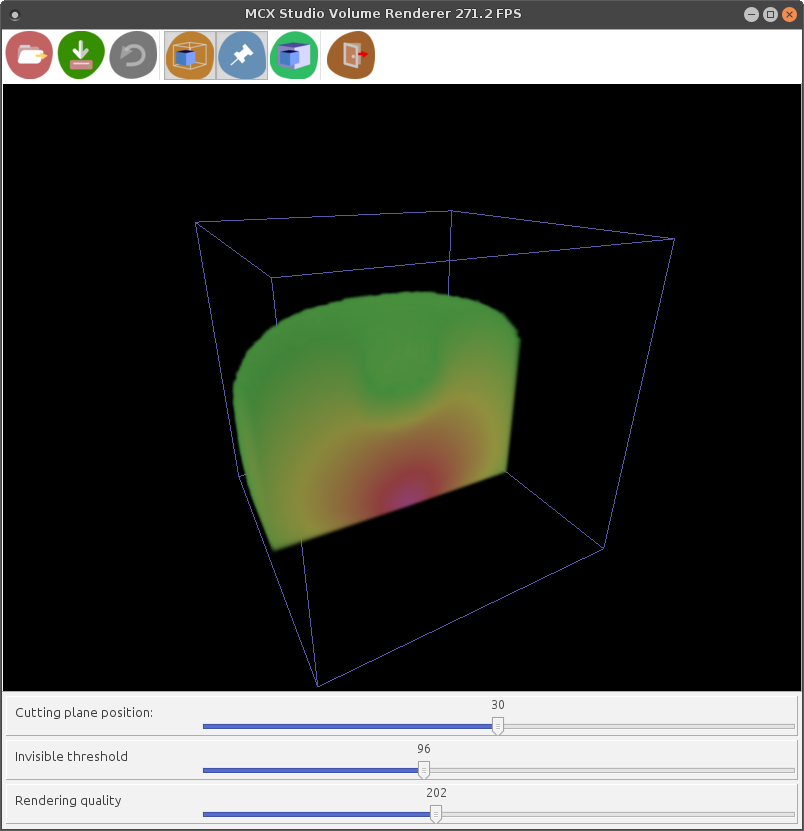
Built-in 3D volume renderer (demo on Linux)
Using MCX Studio GUI
To use MCX Studio, it is recommended to put the mcxstudio binary in the same directory as the mcx command; alternatively, you can also add the path to mcx command to your PATH environment variable.
When launching MCX Studio, it will automatically check if mcx binary is in the search path, if so, the "GPU" button in the toolbar will be enabled. It is suggested to click on this button once, and see if you can see a list of GPUs and their parameters in the bottom of the window. If you are able to see this information, your system is ready to run MCX simulations. If you get error messages or not able to see any usable GPU, please check the following:
- are you running MCX Studio/MCX on a computer with a supported card?
- have you installed the CUDA/nVidia drivers correctly?
- did you put mcx in the same folder as mcxstudio or add its path to PATH?
- are you running MCX in a remote desktop of a windows machine? MCX only works with local access on windows.
If your system is properly configured, you can now add new simulations by clicking the "New" button. MCX Studio will ask you to give a session id string for this task. Then you should be able to adjust the parameters based on your needs. Once you finish the adjustment, you should click the "Verify" button to see if there are obvious mistakes. If everything is fine, the "Run" button will be activated. Click on it once will start your simulation. If you want to abort the current simulation, you can click the "Stop" button.
You can create multiple tasks with MCX Studio by hitting the "New" button multiple times. The information for all of the sessions can be saved as a project file (with .mcxp extension) by clicking the "Save" button. You can load a previously saved project file back to MCX Studio by clicking the "Load" button.
![[Home]](/img/mcx_wiki_banner.png)
