![[Home]](/img/mcx_wiki_banner.png)
Compiling MCX from source code using NVIDIA Nsight Eclipse Edition
- 1. Prerequisites
- 2. Step 1: Starting Nsight for initial import of MCX
- 3. Step 2: Selecting your CUDA work directory
- 4. Step 3: Nsight interface
- 5. Step 4: Selecting File\Import
- 6. Step 5: Importing existing project into workplace
- 7. Step 6: Importing the downloaded MCX project folder
- 8. Step 7: Imported MCX
- 9. Step 8: Compiling MCX
- 10. Step 9: Compiling progress bar and logs
- 11. Step 10: Testing MCX binary
1. Prerequisites
- You must have installed CUDA and Nsight integrated development environment (IDE) on your operating system.
- You must have downloaded the latest MCX source code from sourceforge or github.
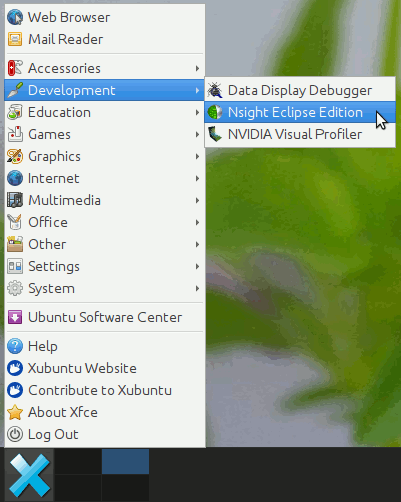
2. Step 1: Starting Nsight for initial import of MCX
Once CUDA and Nsight are installed, you should be able to launch Nsight from your desktop menu (example shown here is an XFCE desktop on Ubuntu, your desktop menu may look different. For windows, search for nsight in your Start Menu).
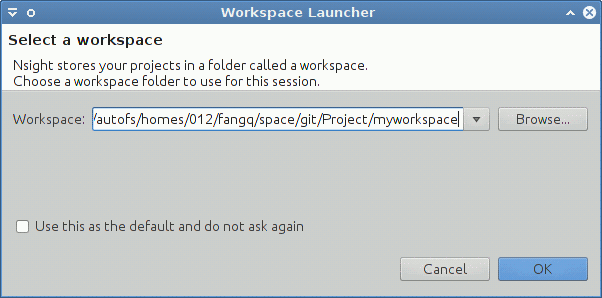
3. Step 2: Selecting your CUDA work directory
When Nsight starts, it will ask you a CUDA work folder. Use the default value, or select a preferred location.
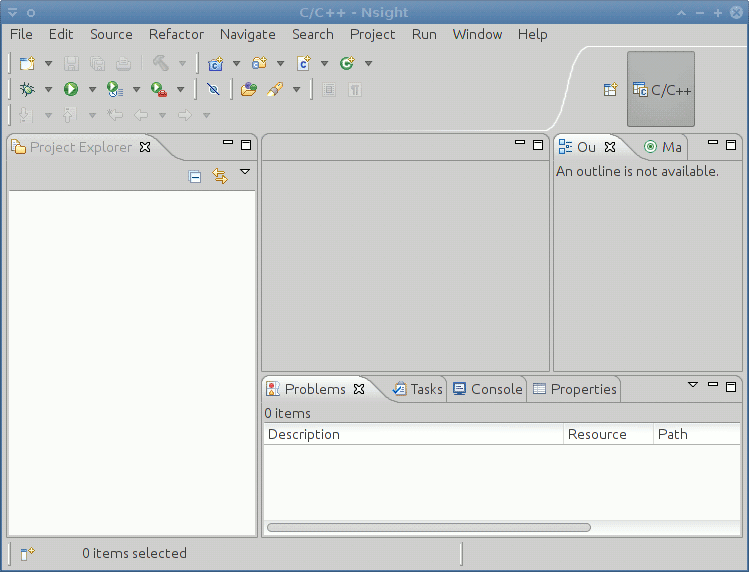
4. Step 3: Nsight interface
If you have already imported MCX project into Nsight, you should be able to see it in the project list on the left. Shown below is an empty work folder prepared for the initial import.
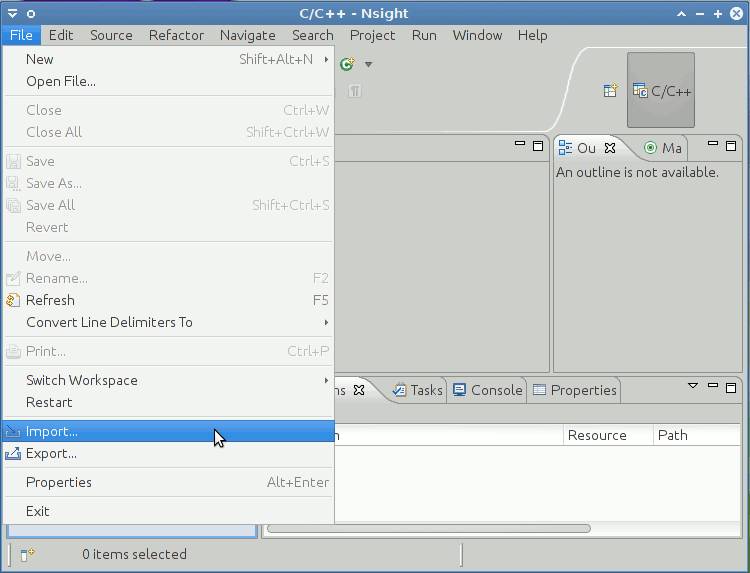
5. Step 4: Selecting File\Import
Click on the File menu and select Import ...
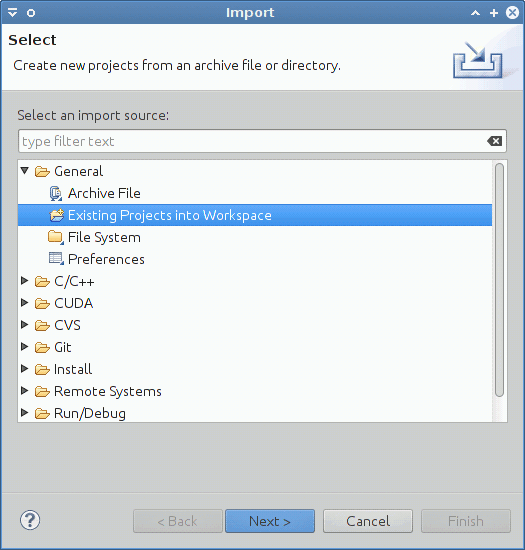
6. Step 5: Importing existing project into workplace
In the popup Import window, expand "General" and select "Existing Projects into Workplace"
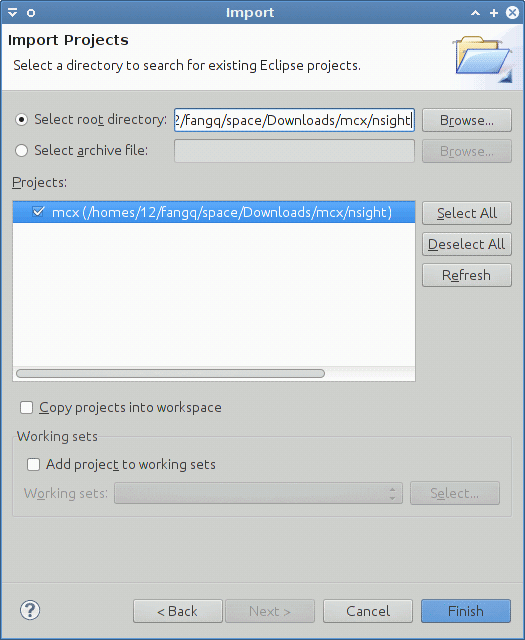
7. Step 6: Importing the downloaded MCX project folder
In the Import settings dialog, click "Browse ..." button after "Select root directory", and browse for the nsight sub-folder under the downloaded MCX source folder. Nsight will automatically list the existing project named "mcx" in the box entitled "Projects". Click "Finish" when complete.
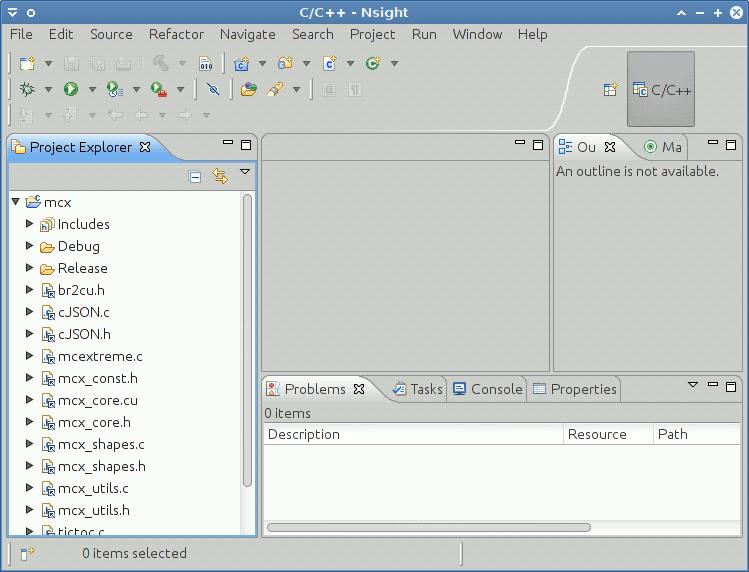
8. Step 7: Imported MCX
Once MCX project is successfully imported, you should see this project in the project view in Nsight.
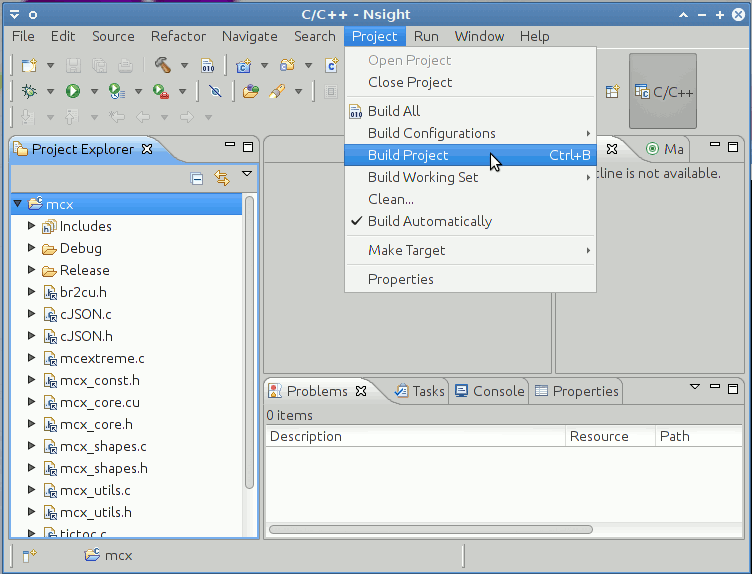
9. Step 8: Compiling MCX
Click on the "mcx" item in the project view once to highlight it, then, expand the Project menu, and click on "Build Project".
If you want to build a fully optimized MCX for production purposes, click on the Project menu and select "Build Configuration", then click on "Set active" and "Release". This will activate all code optimization flags.
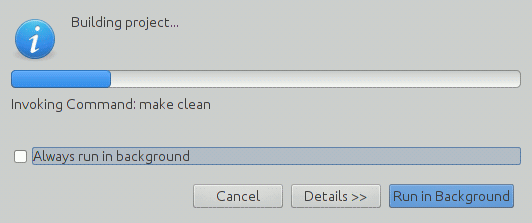
10. Step 9: Compiling progress bar and logs
During the building process, a popup menu will display the progress of the compilation/linking; logs will also be displayed in the bottom of the Nsight window.
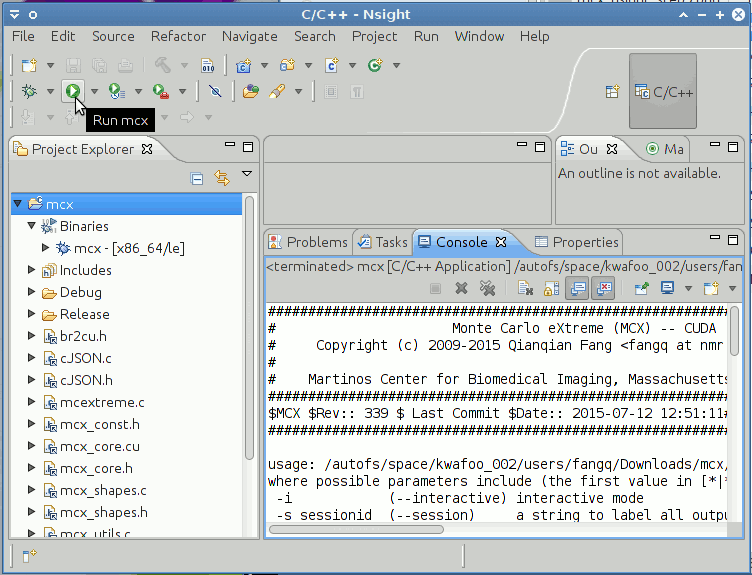
11. Step 10: Testing MCX binary
If you see any error messages in the compilation log in Nsight's console box, you should verify your settings and make sure your CUDA libraries and Nsight are properly installed (you may also import one of the CUDA examples to see if it compiles).
If MCX is successfully compiled, you should see a "Binaries" folder under the "mcx" project. You can then execute it using the Run button on the toolbar. Running mcx without any parameter will list the help info. If you see the printed help text, your MCX is successfully compiled. You can copy this binary (located either under mcx/nsight/Debug/mcx or mcx/nsight/Release/mcx, depending on your build settings) to mcx/bin folder. You should then be able to run all the examples under mcx/examples folder.